NEStalgia:Beginners Guide
First off, welcome to NEStalgia!
NEStalgia is an old school, turn-based, 8-bit inspired MORPG. This is a quick guide for new players to get them acclimated to how things work in NEStalgia and save them from initial frustrations. If you find yourself stuck, veterans of these games will know the most important rule is:
Talk to Everyone! This means you should talk to all the townsfolk and get hints on what to do next before asking on wsay, "Where's Krasus?"
Note: You can also check the in-game help by pressing the F1 key.
Where Do I Start?
|
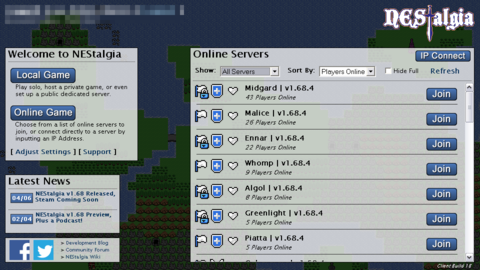
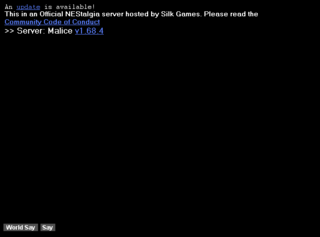
There are many servers to choose from when launching NEStalgia for the first time. There are many official servers hosted by Silk Games, and many hosted by players themselves. Thats right you can host your very own server!. You can tell the difference between these servers:
Some of them may also have a lock indicating you need a password to log into. There are also two game types: |
|
Creating a Character
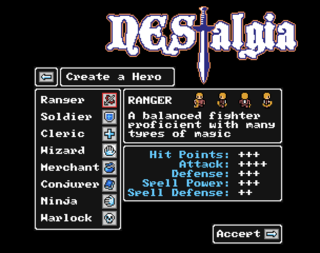
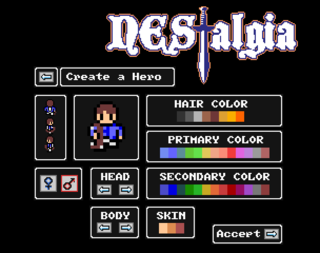
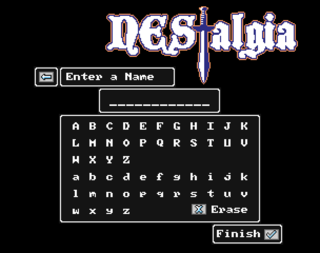
| Choose a Class | Customize Your Look | Name Your Character |
|---|---|---|
 |
 |
 |
|
Click on the different class icons to see some basic information about each class, or checkout Classes here on the wiki for more information. |
Choose your gender, skin color, hair style, hair color, clothes, and clothing colors to suit your preferences. Note: These can be changed later in the game with Vanity Items. |
Try to pick something original and appropriate. See the the community Code of Conduct for more information on naming your character. |
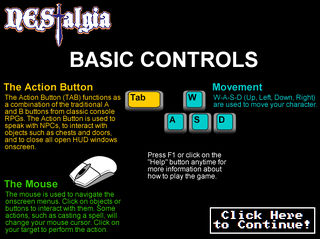
Controls
|
|
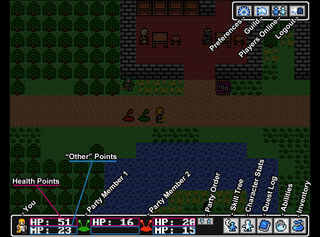
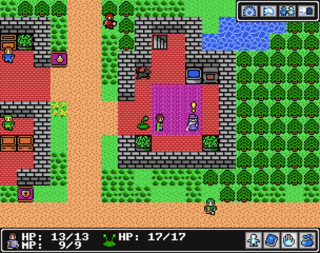
Main Screen
|
Across the bottom of the main screen:
If you group with other players, the above will instead apply to that party and include a leave party button under the party order button. Across the top right side of the main screen:
|
|
Communication
|
Other players are a big part of any MORPG; see the Chat Commands and Glossary of Terms for all of the necessary information to communicate with other players in the game. |
|
The Basics
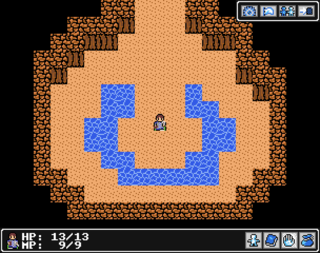
Beginner Cave
|
After the brief cut scene you will find yourself in the beginner cave. This initial cave is here to teach you the basics of the game and get you ready for the regular world. It's a small cave so take the time to explore and read everything. |
|
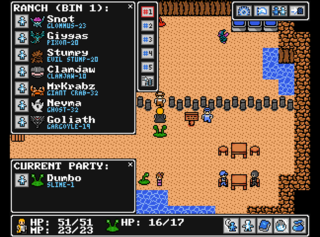
Companions
|
After the beginner cave you'll be introduced to companions and the first companion ranch. Companions are a big part of the game and a must if playing solo. You can have up to 2 companions with you at a time, the rest of your companions will be waiting for you at the companion ranches throughout the game. For more information about companions visit the Companions Page. |
|
Party
|
Click on other players to:
You can have up to two additional players and or companions in your party (three players all together). When you join someones party, you still have your companions abilities available to you in the overworld, but in battle you will have their reserve stat or ability added to your character. When you're in a party, you can also click on players and companions in your group to view their basic stats. |
|
Menus
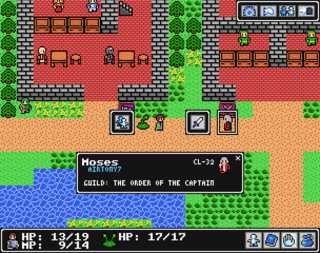
Character Information
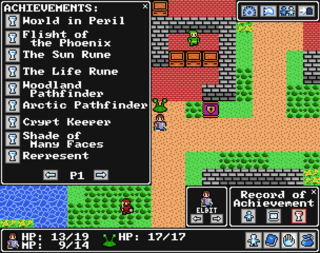
| Character Statistics | Character Profile | Record of Achievement |
|---|---|---|
 |
 |
 |
|
This shows your Character Statistics as well as things like: how much Gold you have, your current level, and how much experience is needed for your next level. |
This screen shows you your Reputation, Badges, and progress so far in the game. |
This is more for endgame, but shows what Achievements you have and have not completed. |
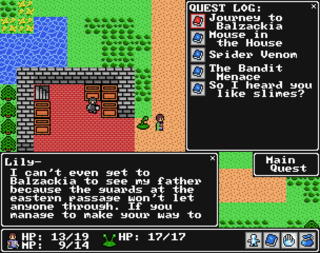
Quests
| Quest Log | Start Quest | Finish Quest |
|---|---|---|
 |
 |
 |
|
The quest log shows all of the Quests that you currently have. The first quest in the list is always the current main storyline quest. Clicking on a quest will show you the chat from the character who gave you that quest. |
Look for NPCs with exclamation marks over their heads to receive new quests. Most quests are optional, but they will help lead you through the game; plus they give experience and sometimes items as rewards. |
NPCs with question marks over their heads are waiting for completed quests to be turned in to give you your reward and sometimes another quest. |
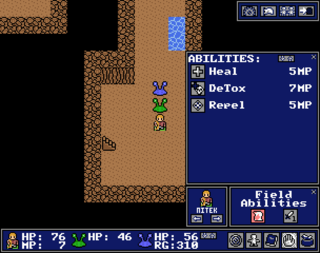
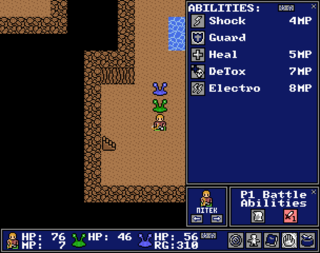
Abilities
| Field Abilities | Battle Abilities |
|---|---|
 |
 |
|
This button allows you to use the non-battle Abilities that you currently have for use in the over world and shows you their cost. |
You can also view the abilities that you currently have for use in battle. Some abilities can be used in and out of battle and will appear on both screens. |
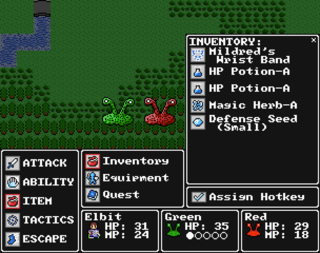
Inventory
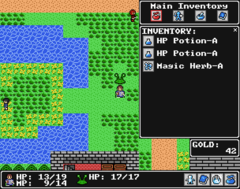
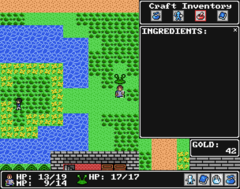
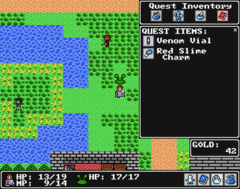
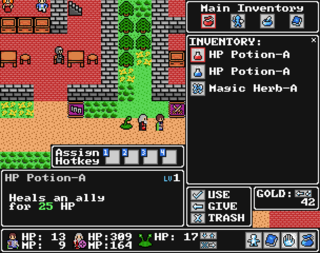
| Main Inventory | Equipped Gear | Craft Inventory | Quest Inventory |
|---|---|---|---|
 |
 |
 |
 |
See the Equipment and Items pages for more information about available gear and items.
|
Some quick info about items and the inventory:
|
|
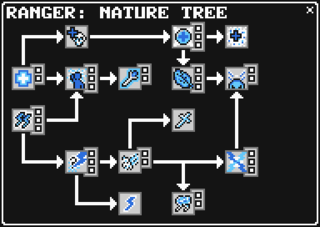
Skill Tree
|
The skill tree menu unlocks at level five, at that point you will be able to use the five skill points that you've already earned. There are two skill trees to add your points to, each Class has different skill trees. Skill points are used to increase your stats and learn new abilities. Choose wisely because your choices can't be undone, although you can reset your skill tree for a price. Each time you level up you will gain an additional skill point to use. |
|
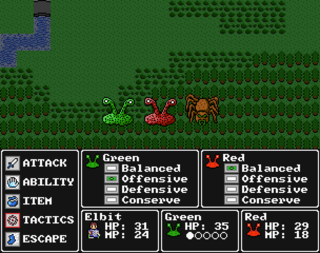
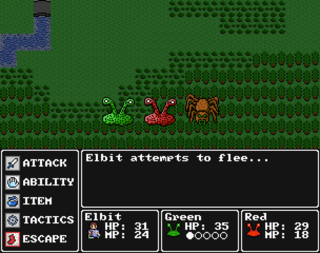
Battle
|
And of course, battles! Battles are turn based encounters where you get to slay monsters for experience, gold, and sometimes items. When in a party, there is a 20 second round timer. You must select your action before the timer runs out. Currently there is no way to increase or decrease the duration of this timer. If you want to change your action and your party member(s) still haven't selected their action(s), press the back arrow next to your action at the top of the screen to cancel it. You can also press the Escape key to cancel your action.
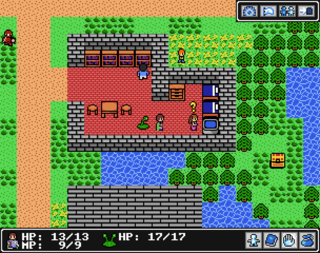
Buildings
|


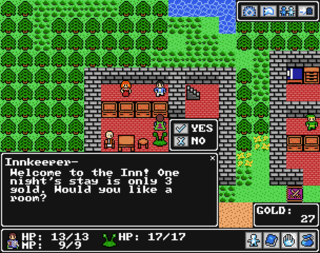
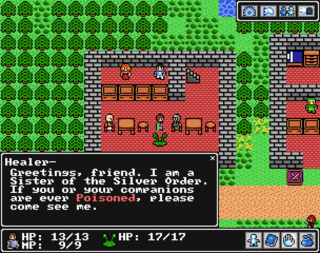
| Innkeeper | Healer |
|---|---|
 |
 |
|
Staying at the inn restores your health and magic points. Each town has an inn, although each town's innkeeper charges a different amount to stay. |
Healers remove ailments that effect you and your party in the over word, such as poison. Note: The healer isn't always in the inn. |
Shops
|
There are three main types of shops in towns:
|
|

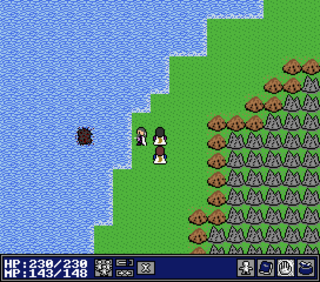
Shade
|
First off, what is the Shade? The Shade is that big gray blob that floats around, which is actually a roaming boss that should only be attempted by groups of high level characters. |
|
Tips
- Talk to everyone! Seriously, most of your quest related questions can/will be answered by the people of that town. So talk to all of the townsfolk before asking things like: "Where's Krasus?".
- Look for flaws in the wall patterns to find hidden passages throughout the game.
- You should be able to fight a boss about every four or five levels.